
Jumpserver跳板机
1. 安装部署
1.操作系统 CentOS、Kylin、ubuntu
[root@jumpserver ~]#cat /etc/os-release
NAME="Kylin Linux Advanced Server"
VERSION="V10 (Lance)"
ID="kylin"
VERSION_ID="V10"
PRETTY_NAME="Kylin Linux Advanced Server V10 (Lance)"
ANSI_COLOR="0;31"

2. 下载jumpserver软件包
2.1 将下载的包上传到/opt目录下
[root@jumpserver:~]#cd /opt/
[root@jumpserver:opt]#ll
total 1082800
-rw-r--r-- 1 root root 1108784941 Aug 21 23:47 jumpserver-ce-v4.0.2-x86_64.tar.gz

2.2 解压安装
[root@jumpserver:opt]#tar xf jumpserver-ce-v4.0.2-x86_64.tar.gz
[root@jumpserver:jumpserver-ce-v4.0.2-x86_64]#./jmsctl.sh install
在安装过程中的一些选项都直接回车使用默认即可。

2.3 启动服务
[root@jumpserver:opt]#cd /opt/jumpserver-ce-v4.0.2-x86_64
[root@jumpserver:jumpserver-ce-v4.0.2-x86_64]#./jmsctl.sh start

2.4 Web access 访问web
http://10.0.0.81:80
Default username: admin  Default password: ChangeMe
2. jumpserver的三类用户
1. 登录jumpserver的用户
管理员用户(默认安装时,创建的用户admin)
普通用户(管理员登录后创建的用户)
2. 特权用户
用于ssh免密钥和ansible的执行用户(后端服务器)
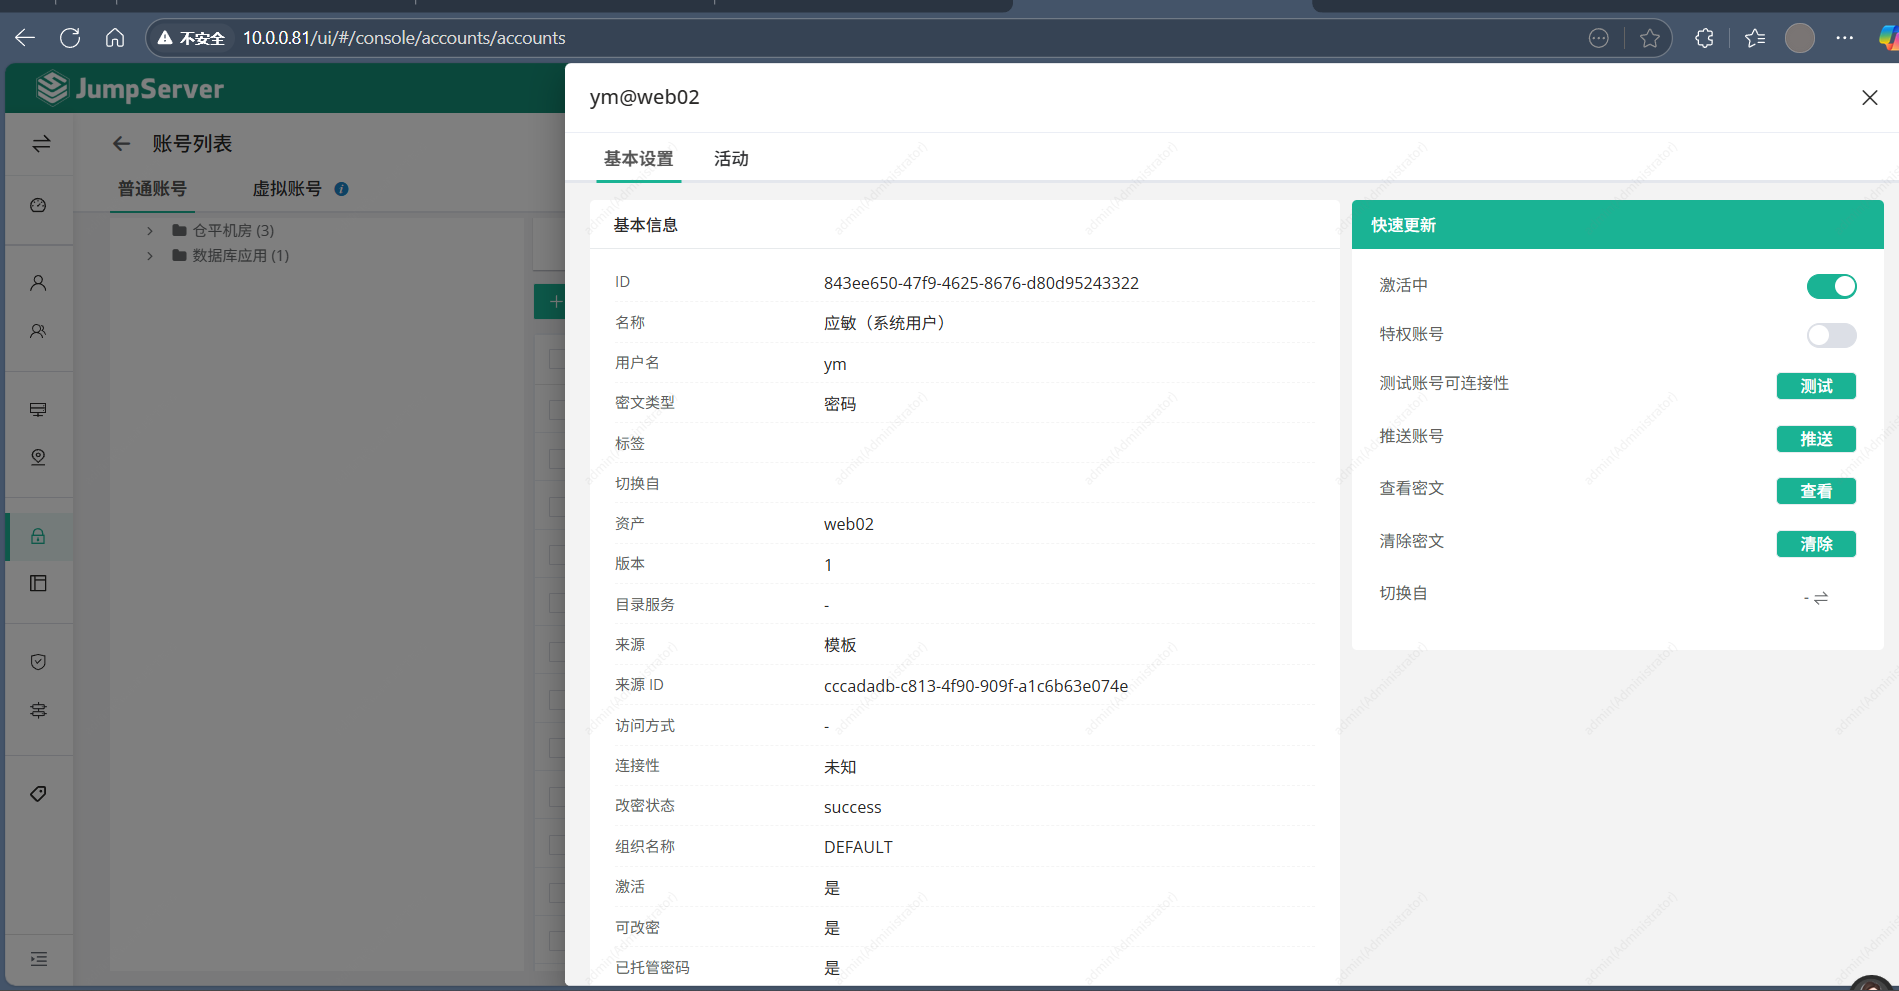
3. 系统(普通用户)
实际在资源运行的账户,通过ansible创建3. 基本操作
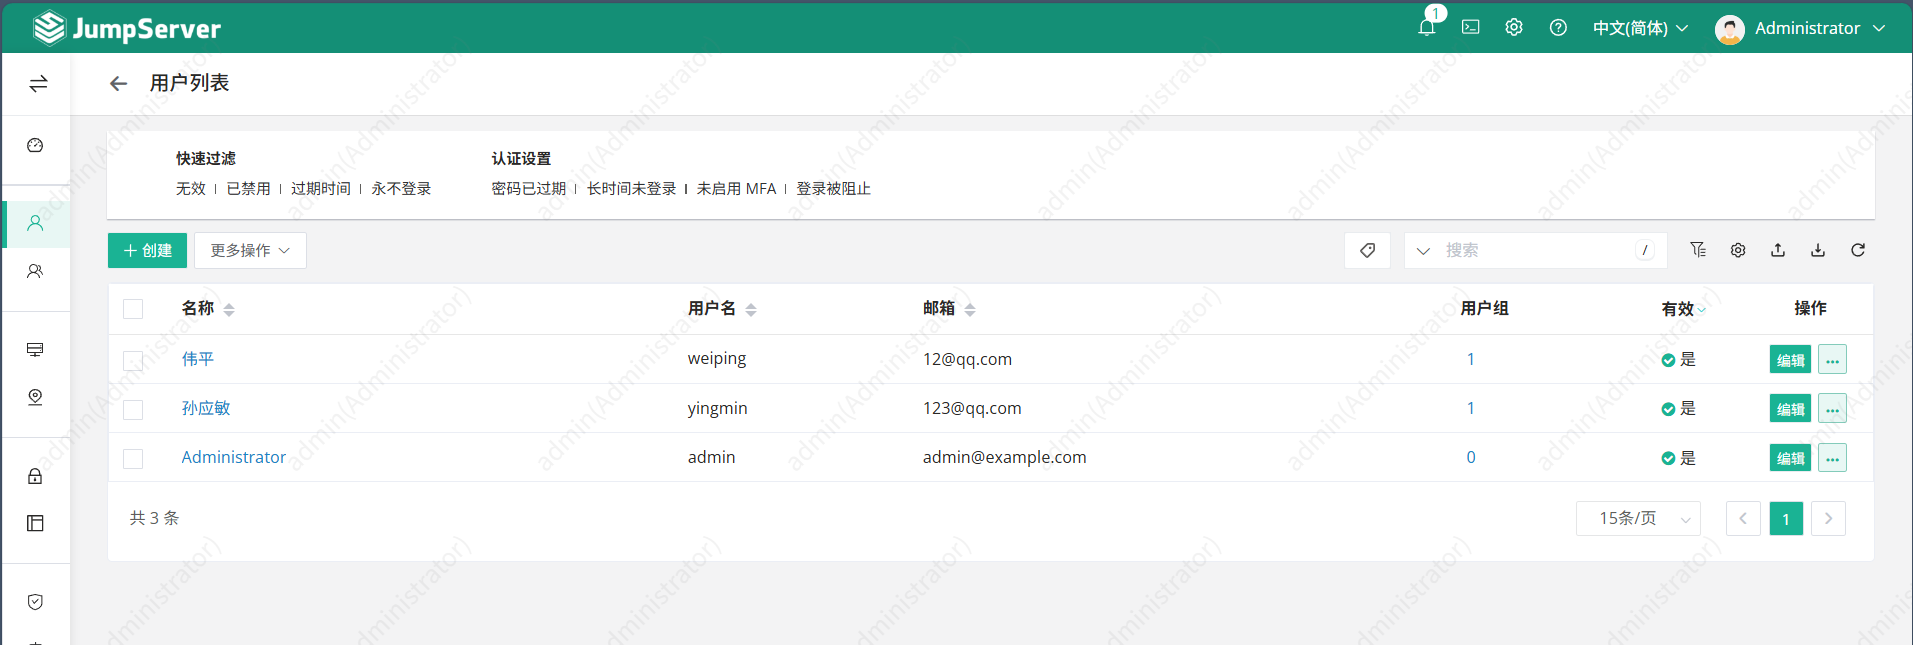
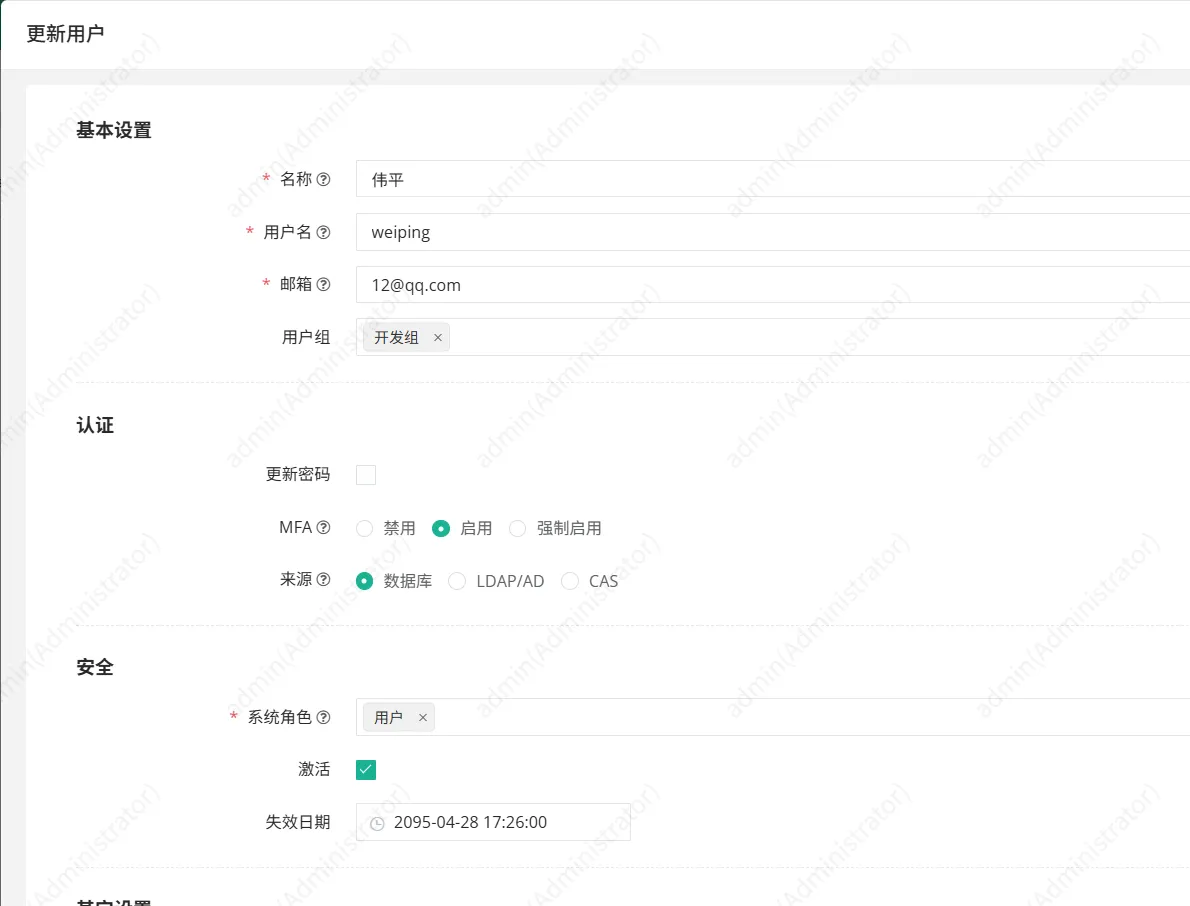
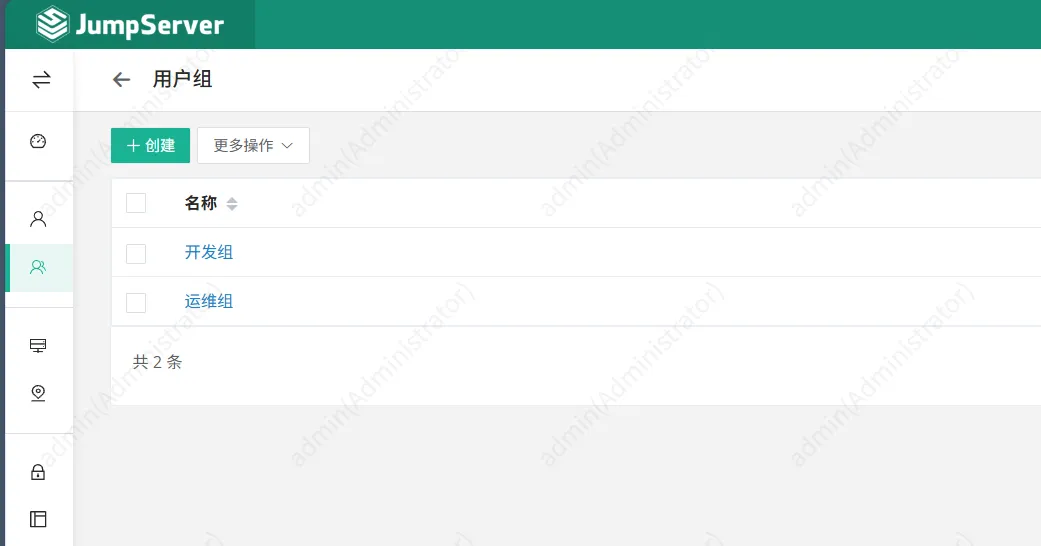
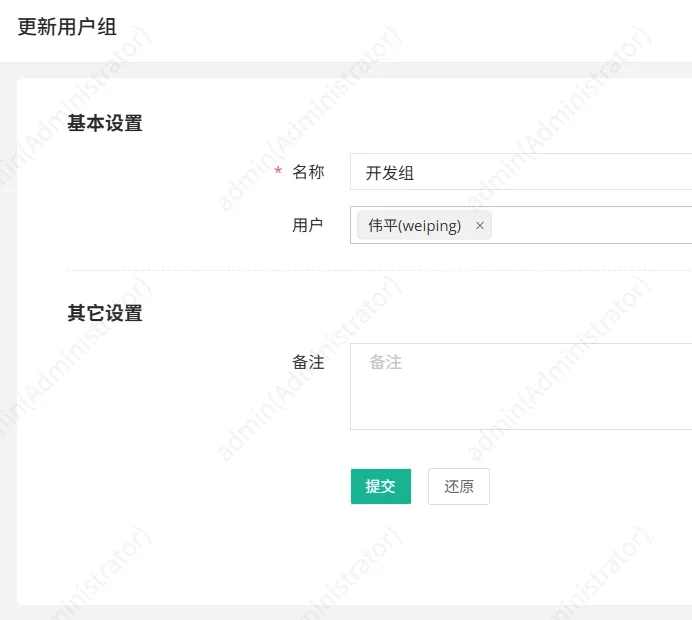
3.1. 创建用户和组
用户(登录用户)
3.2 添加资产
3.2 生成密钥对
[root@jumpserver ~]#ssh-keygen3.2 和后端做免密钥
```
[root@jumpserver ~]#ssh-copy-id 172.16.1.51
[root@jumpserver ~]#ssh-copy-id 172.16.1.7
[root@jumpserver ~]#ssh-copy-id 172.16.1.8
```
3.3 界面操作
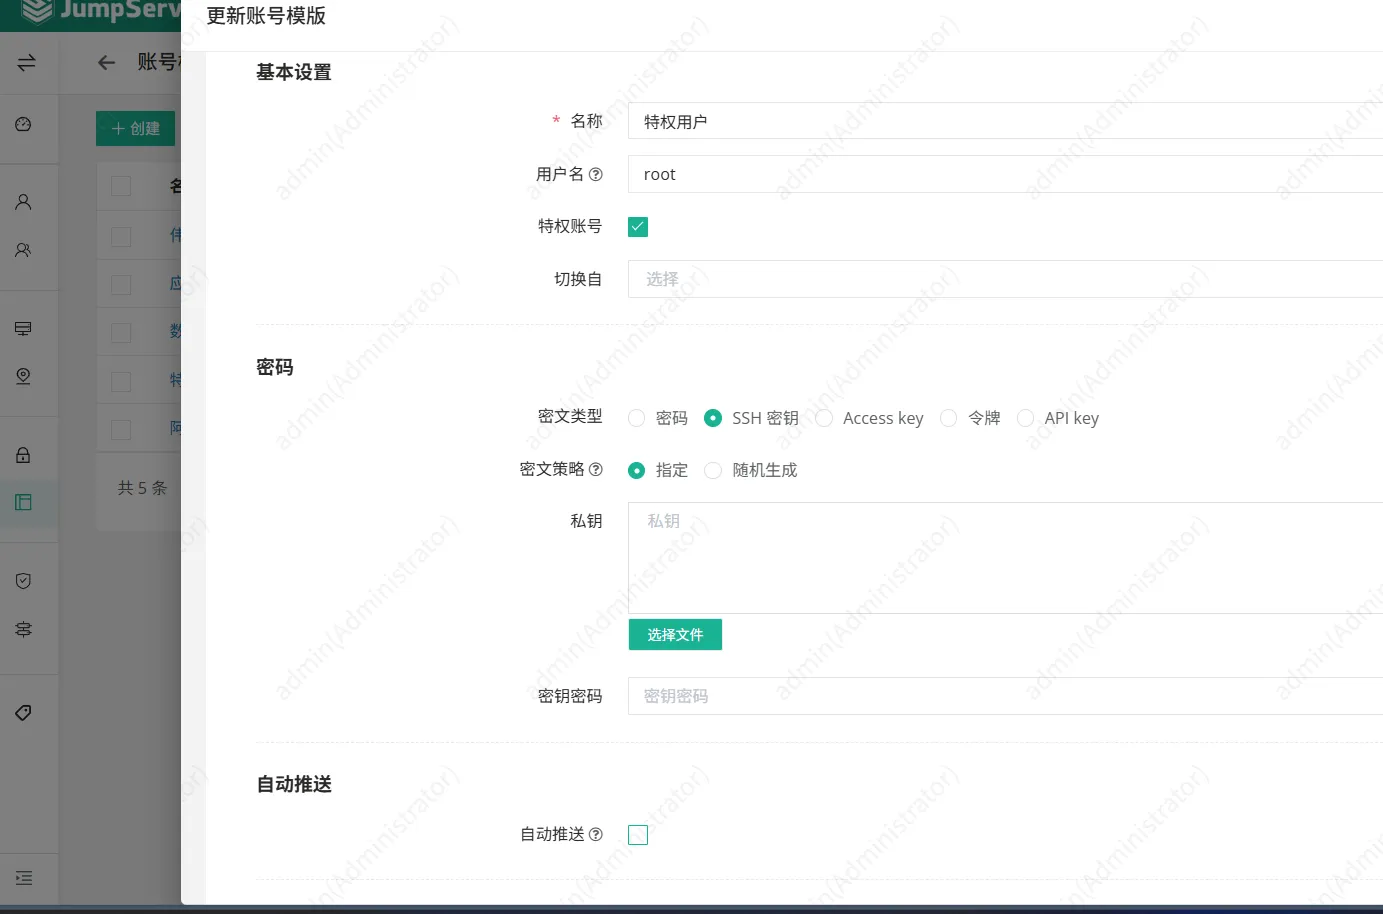
创建特权用户
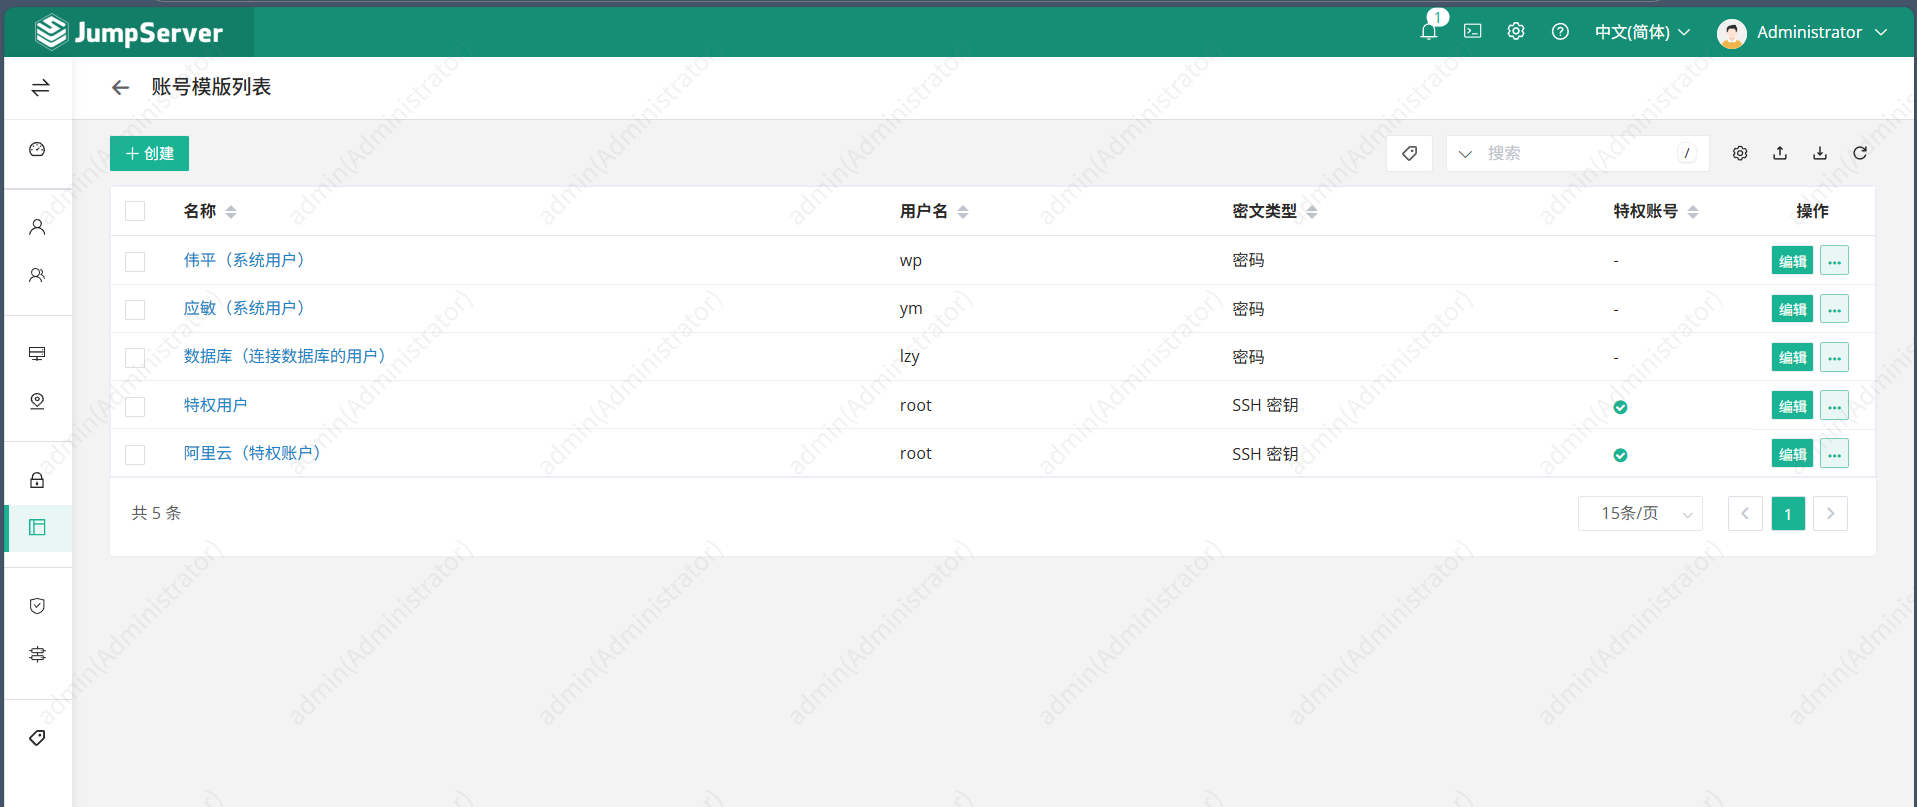
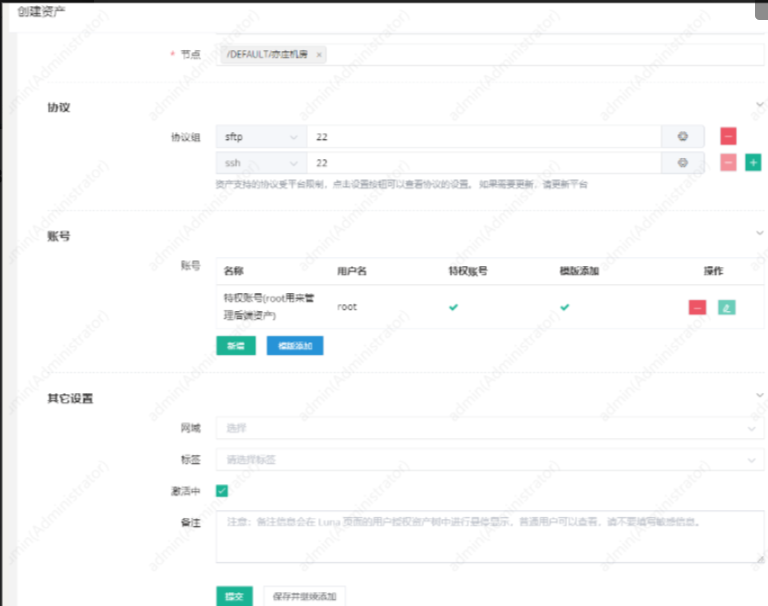
创建资产
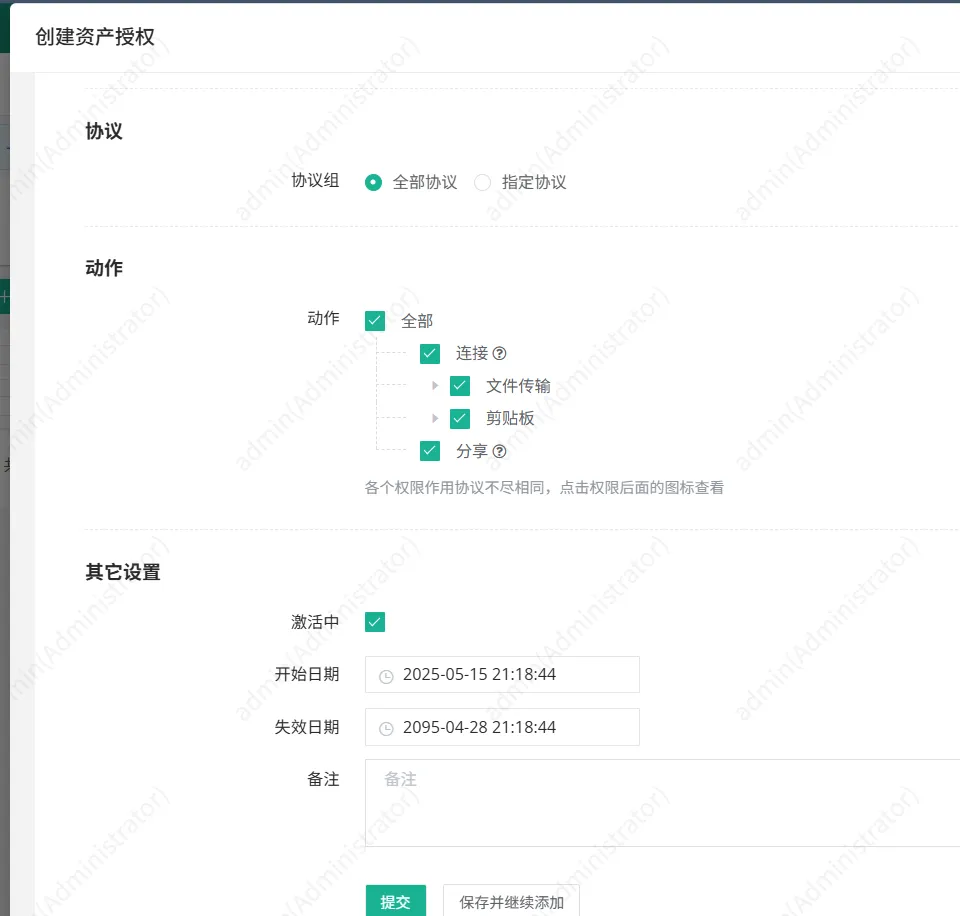
4. 资产授权
使用yunwei,登录后端所有的资产
使用ceshi,登录后端51数据库
5. 管理后端
第一种:
1. 通过登录各自用户的界面登录(切换到工作台)。
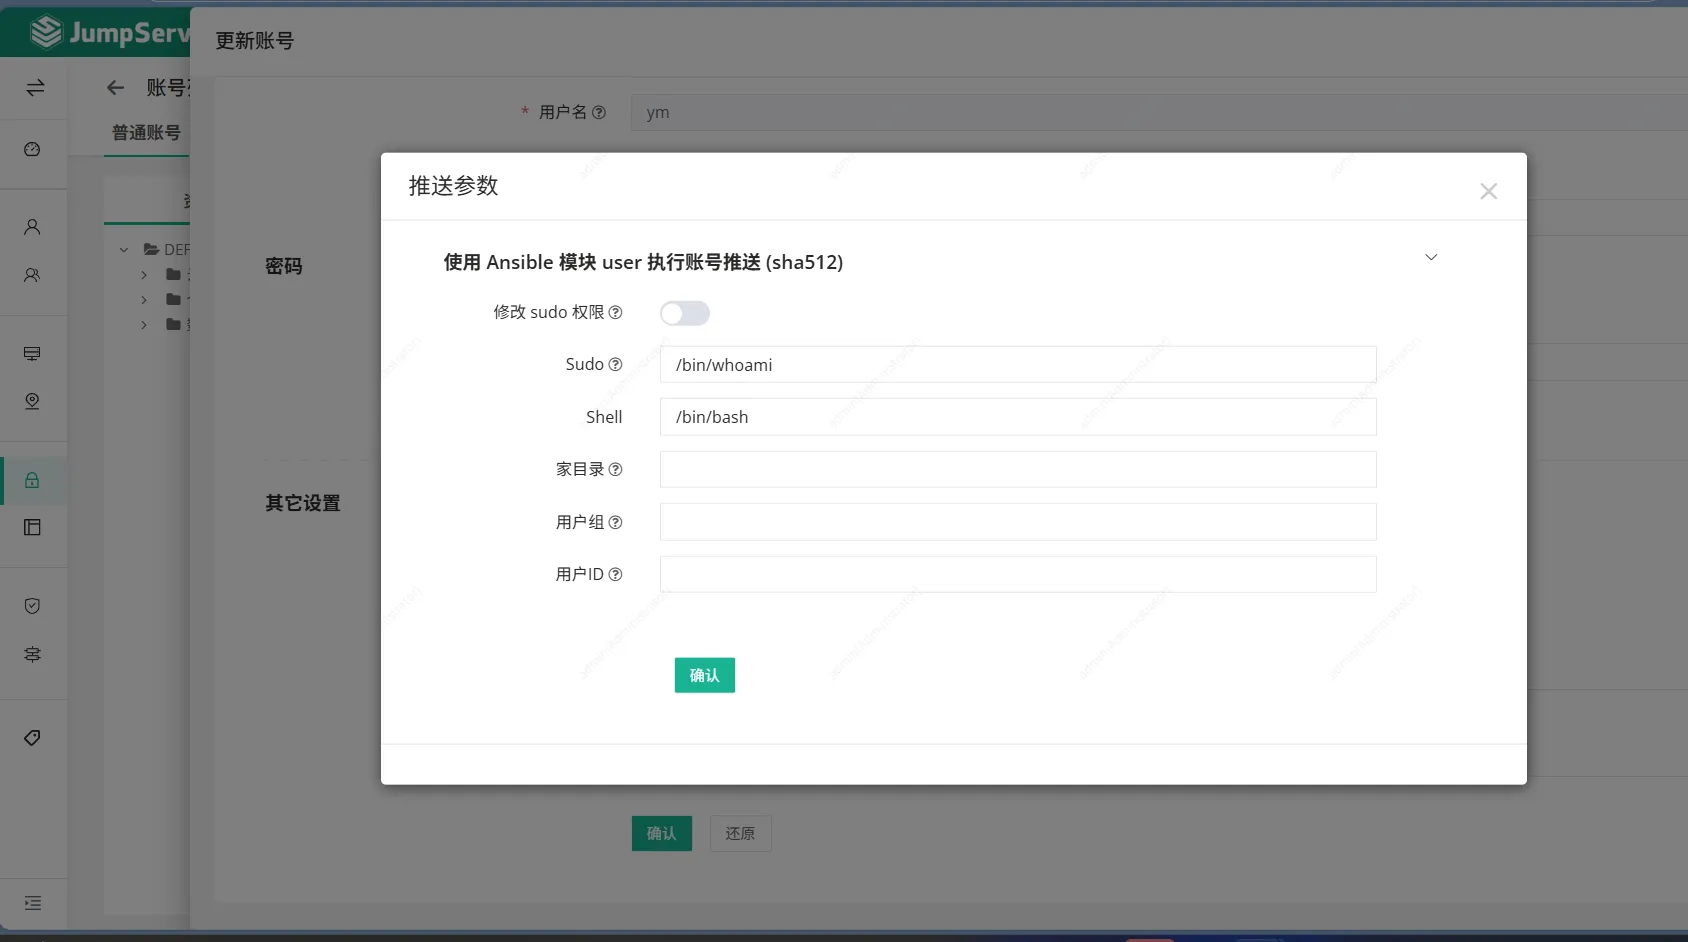
当用户名和密码登不上的时候,还可以通过账号列表推送,推送给后端的资源。因为jumpserver的ansible没有推送过去
第二种:通过xshell连接
[d:\~]$ ssh yayi@10.0.0.81 2222
	 1) Enter part IP, Hostname, Comment to to search login if unique.
	 2) Enter / + IP, Hostname, Comment to to search, such as: /192.168.
	 3) Enter p to display the assets you have permission.
	 4) Enter g to display the node that you have permission.
	 5) Enter h to display the hosts that you have permission.
	 6) Enter d to display the databases that you have permission.
	 7) Enter k to display the kubernetes that you have permission.
	 8) Enter r to refresh your assets and nodes.
	 9) Enter s to language switch.
	10) Enter ? to print help.
	11) Enter q to exit.
Opt> p		 # 查看自己可以连接的资产
  ID | NAME             | ADDRESS     | PLATFORM                | ORGANIZATION               | COMMENT
-----+------------------+-------------+-------------------------+----------------------------+------------------------
  1  | db-172.16.1.51   | 172.16.1.51 | Linux                   | DEFAULT                    |
  2  | web01-172.16.1.7 | 172.16.1.7  | Linux                   | DEFAULT                    |
  3  | web02-172.16.1.8 | 172.16.1.8  | Linux                   | DEFAULT                    |


 [Host]> 1		# 输入编号连接后端资产
Connecting to goudan(后端资产的系统用户)(goudan)@172.16.1.51  0.9

Authorized users only. All activities may be monitored and reported.
Activate the web console with: systemctl enable --now cockpit.socket

Last login: Thu May 15 10:17:02 2025 from 172.16.1.81
[goudan@db01 ~]#   # 连接成功
6. 用户提权
1.goudan后端系统用户提权su
2.gousheng后端系统用户提权cat less
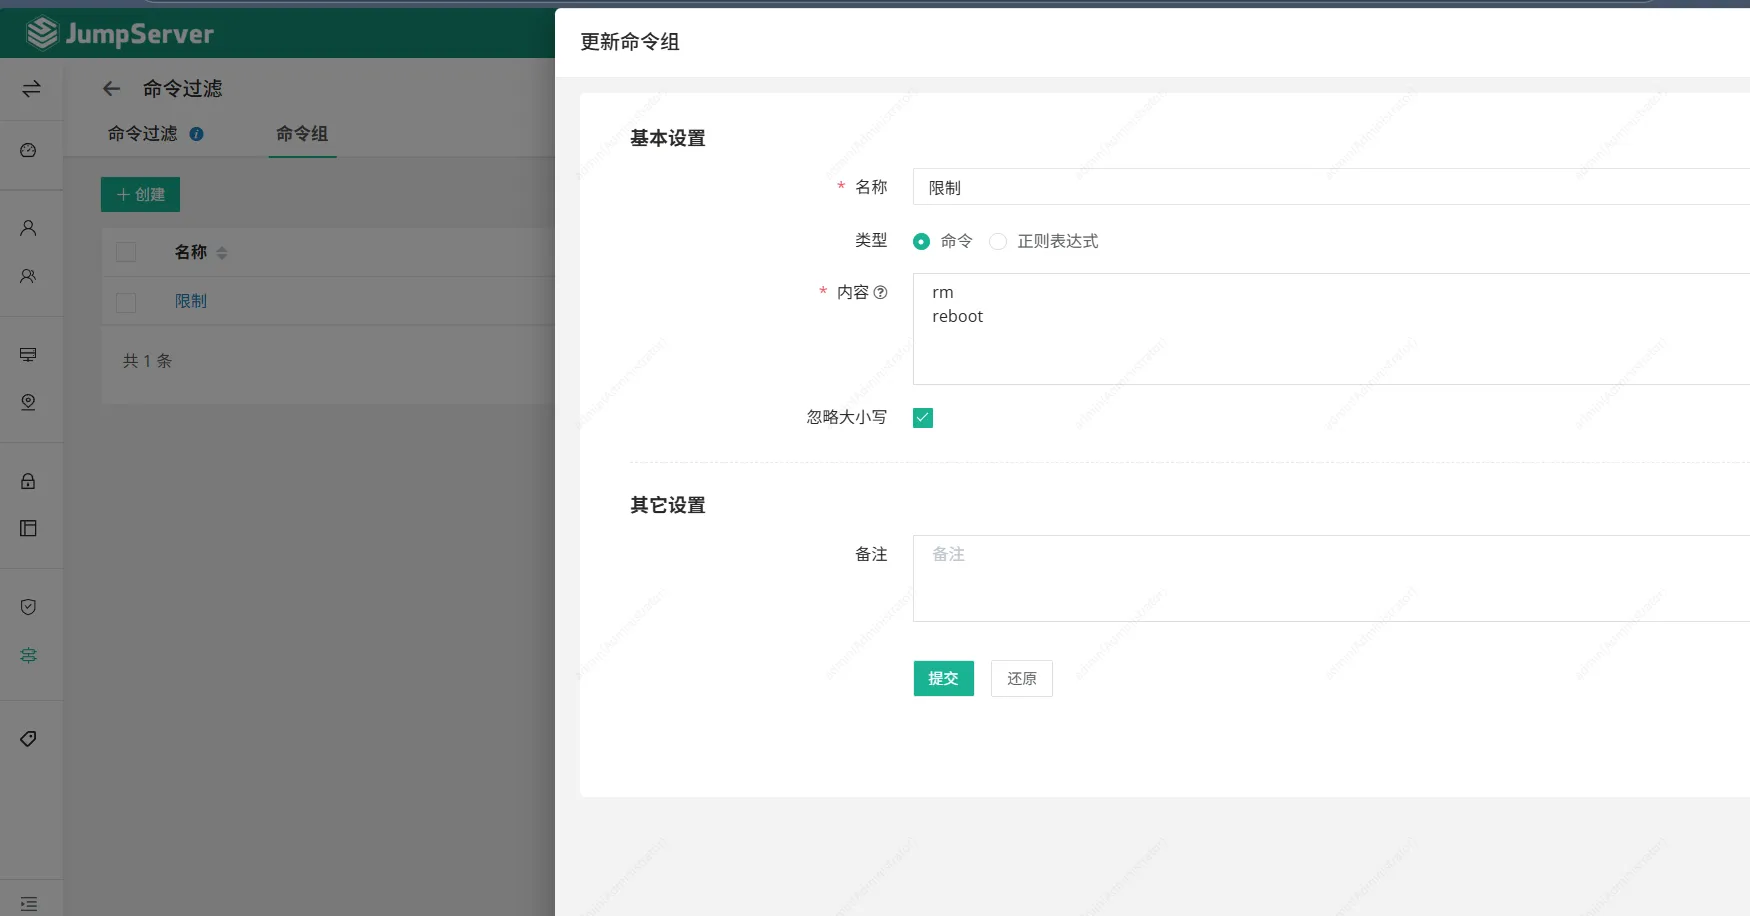
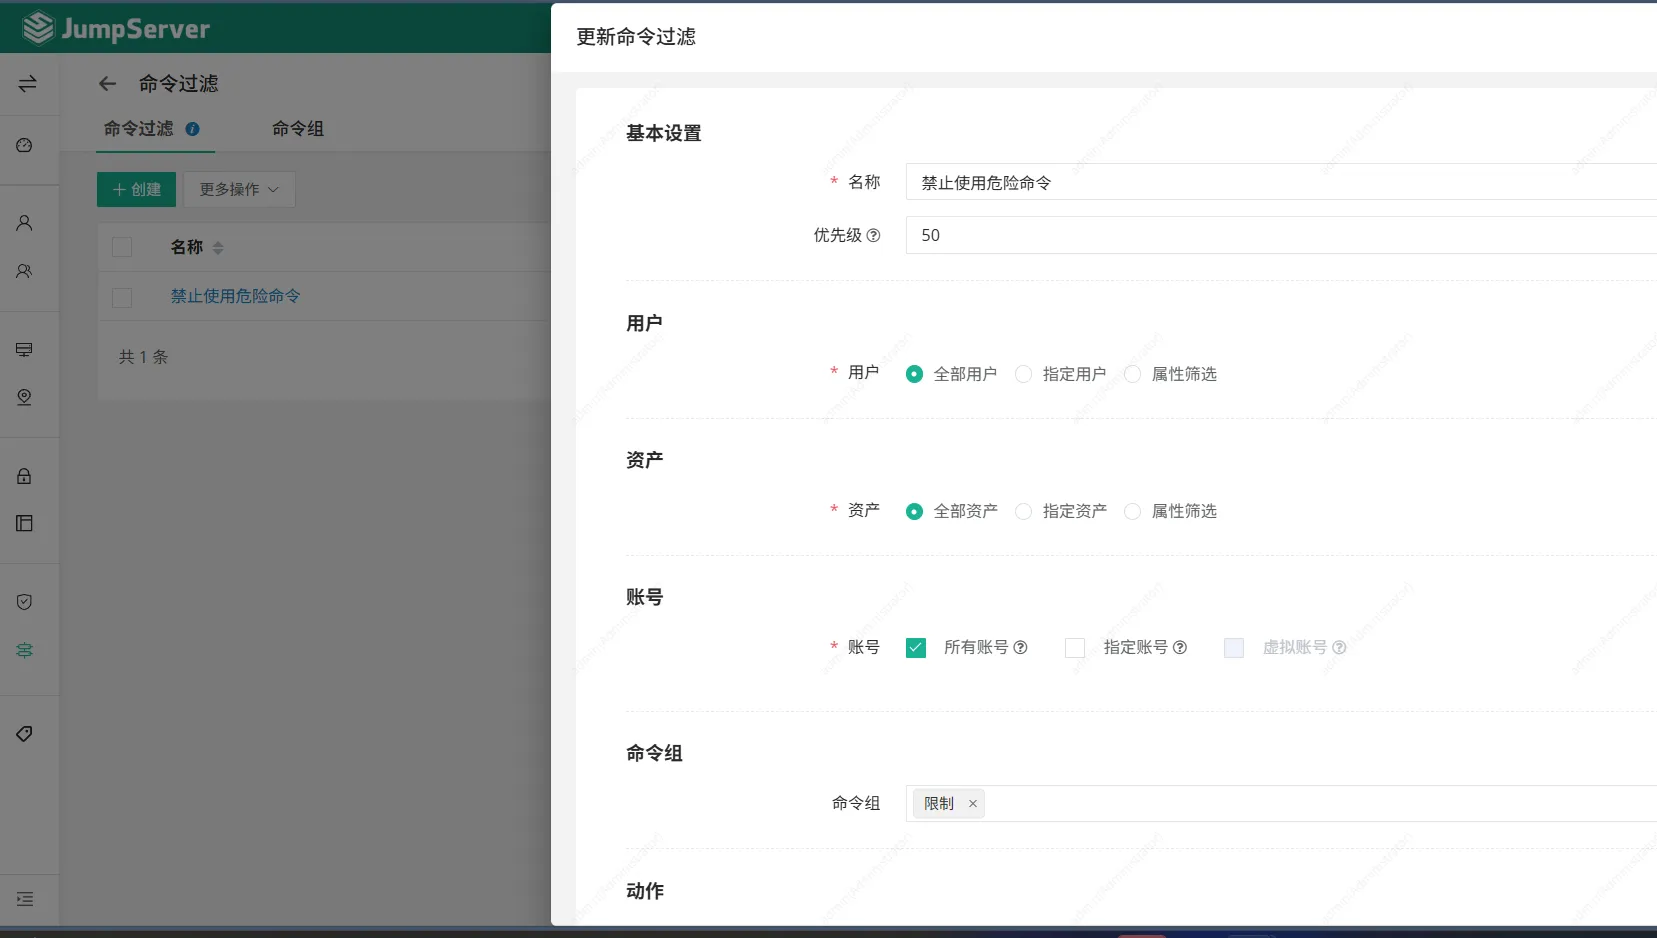
7.禁用使用危险命令
8.数据库应用授权
8.1 添加资源
作用:直接进入数据库的库
8.1.1 添加数据库连接用户
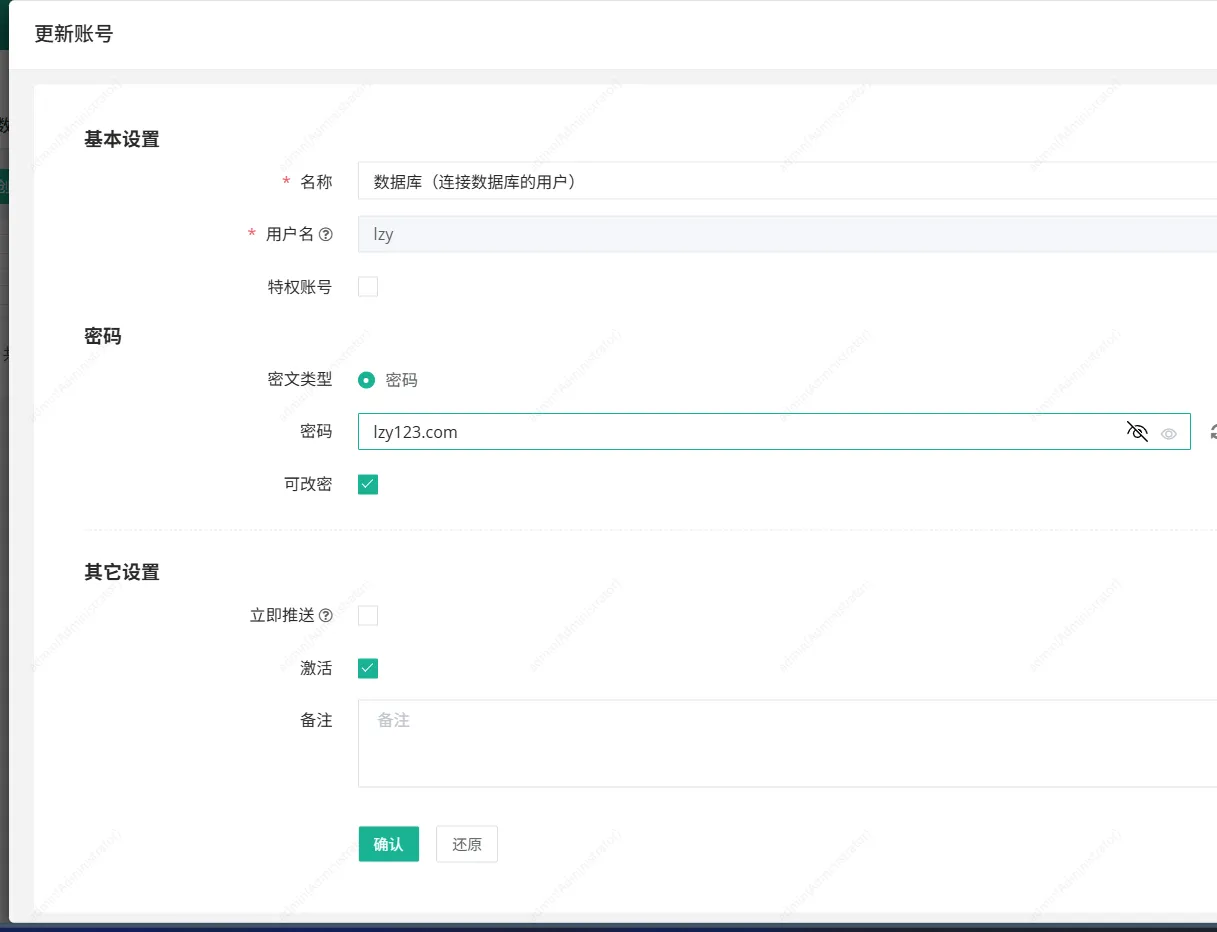
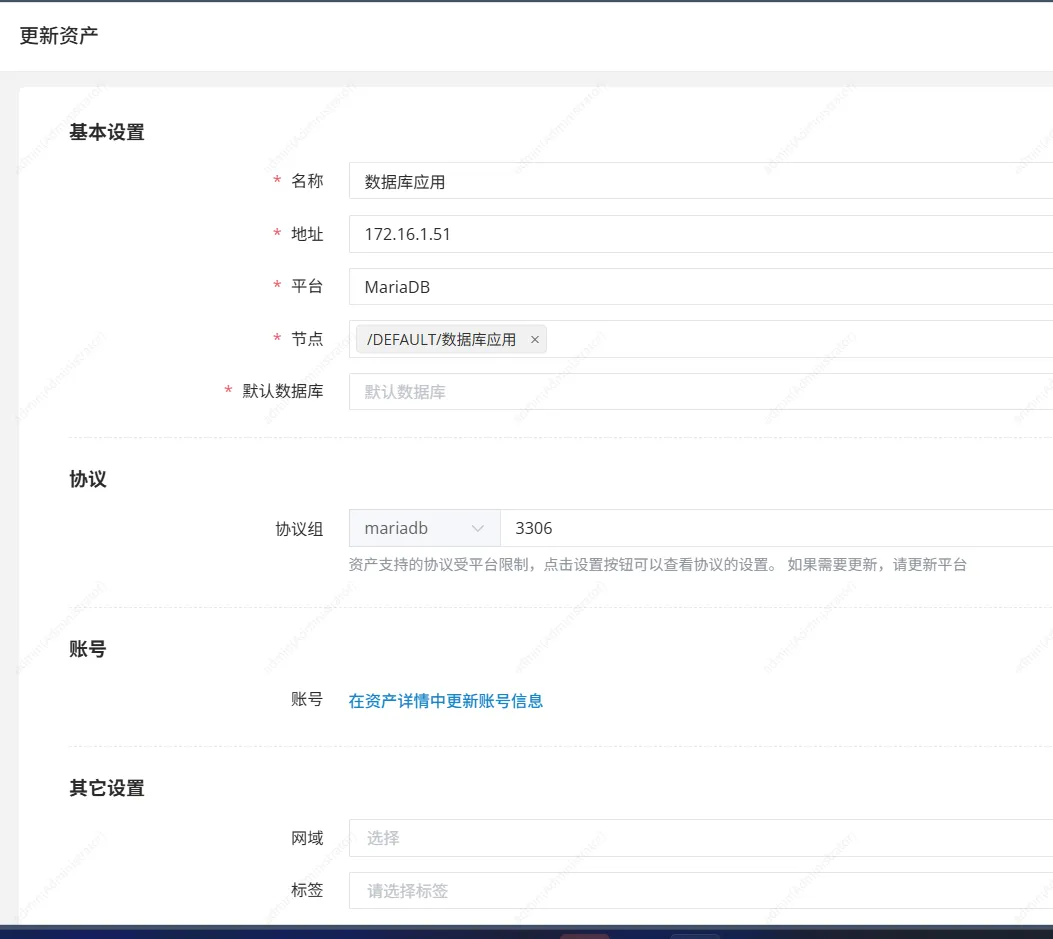
8.1.2 添加数据库资源
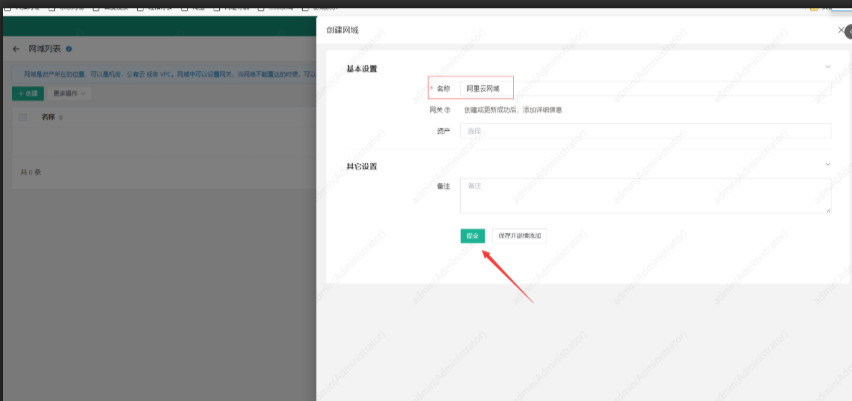
9.jumpserver的网域
9.1 做免密登录
[root@jumpserver ~]#ssh-copy-id 39.104.21.111
[root@wy ~]# ssh-copy-id 172.17.180.138
9.2 添加网域网关

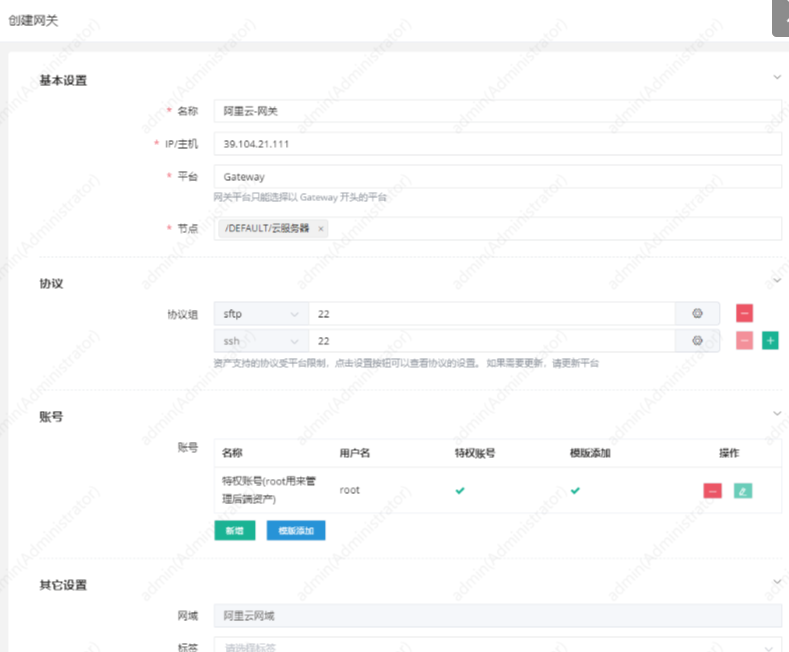
9.3 添加资源
9.3.1 添加阿里云的特权用户
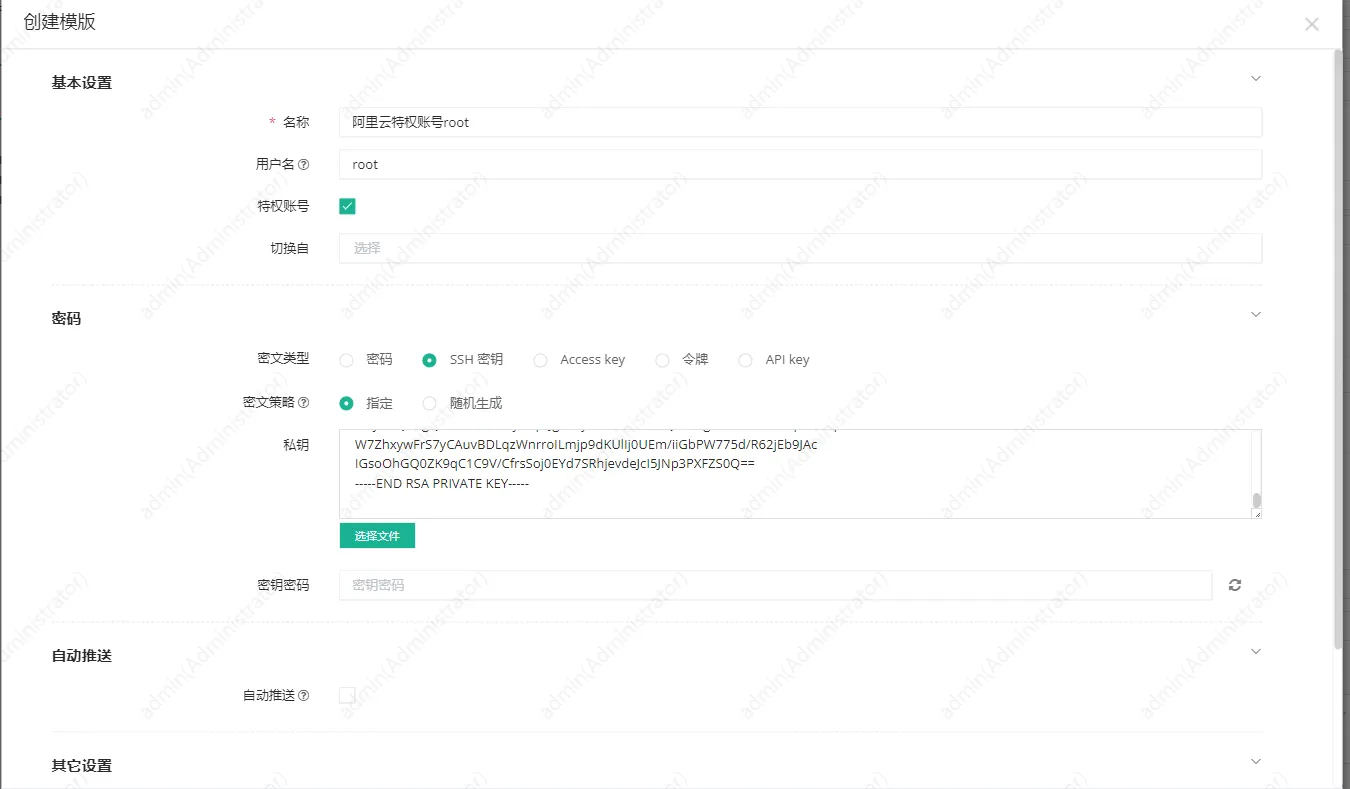
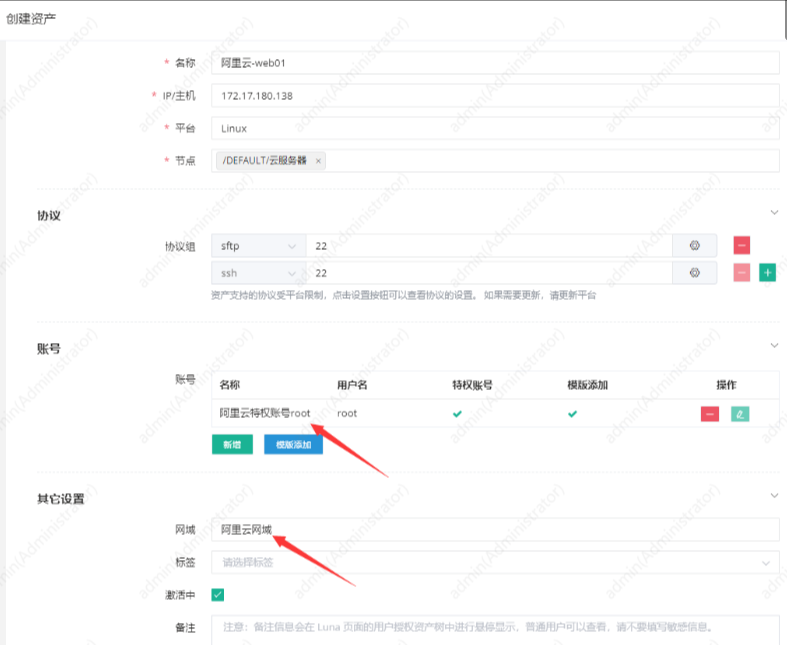
9.3.2 添加阿里云的资源
9.3.2 添加阿里云的资源
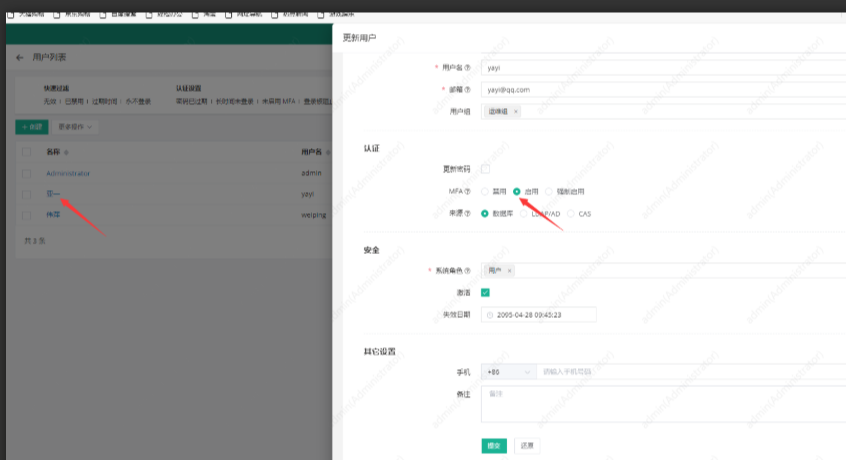
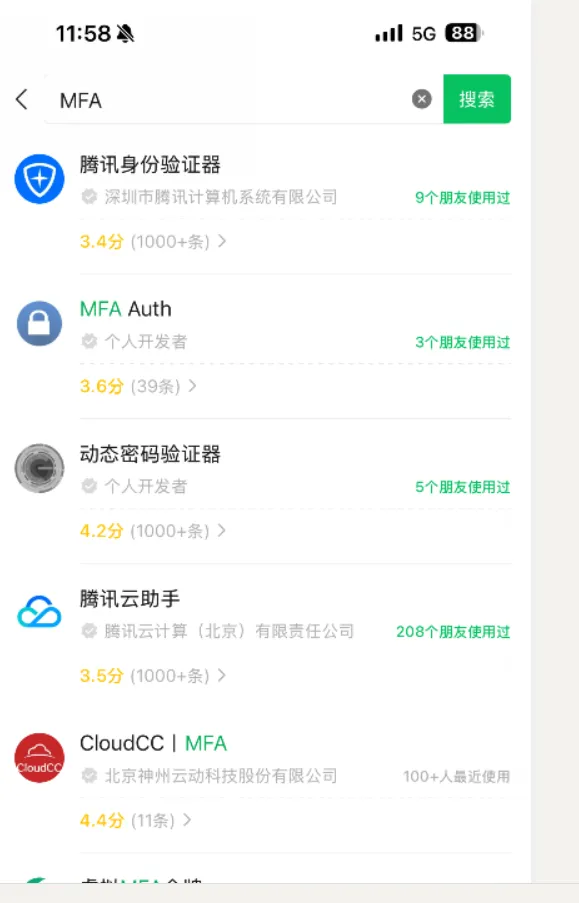
10.多因子认证
本文是原创文章,采用 CC BY-NC-ND 4.0 协议,完整转载请注明来自 程序员小航
评论
匿名评论
隐私政策
你无需删除空行,直接评论以获取最佳展示效果
最近发布
